Table of Contents (16 sections)
Introduction
Candle making is a timeless craft that combines creativity with relaxation, offering both decorative flair and soothing ambiance for your home. Whether you're a curious beginner or a seasoned crafter, this candle making guide aims to illuminate essential techniques, tips, and insider knowledge to help you confidently create homemade candles.
What is Candle Making?
Candle making is the process of creating candles using wax, wicks, and a container or mold. Unlike factory-produced candles, homemade varieties allow for customization in scent, color, and shape. The craft has evolved over centuries, with modern techniques making it accessible to enthusiasts at home.
The global candle market continues to grow, with a valuation of over $8 billion, highlighting a sustained interest in both aesthetic and functional candles. According to Statista, the US remains a significant contributor to this sector, driven by consumer demand for personalized home décor and wellness products.
Essential Supplies You Need
Before diving into the steps, gather these key supplies:
- Wax - Typically, paraffin, soy, or beeswax are popular choices. Each type offers unique burning properties and benefits.
- Wicks - Wicks should match the diameter of your candle to ensure even burning.
- Fragrance Oils - Introduce aromatic scents that appeal to your senses.
- Colors and Dyes - Add visual appeal with rich colors.
- Container or Mold - This gives shape to your candle, available in various styles.
- Thermometer - Essential to monitor wax temperature for safety and quality.
📺 For further inspiration: [Step-by-Step Candle Making Tutorials], explore creative designs on YouTube. Search: "candle making tutorials."
Step 1: Choosing the Right Wax
Selecting the right wax type is a crucial starting point. Paraffin wax is widely used due to its affordability and ability to hold vibrant colors. Soy wax, on the other hand, is eco-friendly and burns cleaner, which is great for environmentally conscious individuals. Lastly, beeswax offers a natural honey scent and longer burn time.
Factors such as burn time, fragrance retention, and sustainability can influence your choice. According to Green America, soy candles are 90% cleaner in burning performance compared to paraffin.
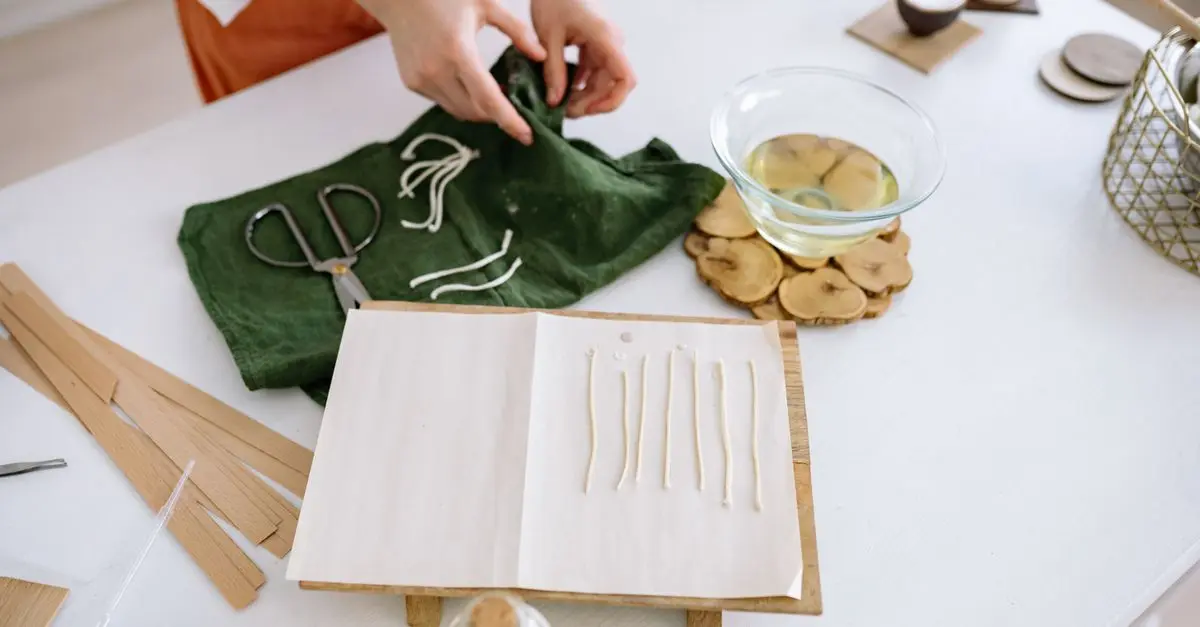
Step 2: Preparing the Wick and Container
Cut the wick to the appropriate size and secure it at the center of your container, using either adhesive dots or wick sustainers. Hobby Lobby suggests allowing at least one inch of wick protruding above the container for safe lighting.
Positioning is vital: a poorly centered wick results in uneven burning, potentially tunneling your candle.
Step 3: Melting the Wax
Using a double boiler, safely melt the wax. According to safety standards, such as those set by OSHA, it is crucial to maintain a consistent temperature below the flash point of the wax. A kitchen thermometer is indispensable for tracking this.
Melted wax should reach around 185°F before removing from heat. This step is where you can integrate fragrance oils and dyes, stirring thoroughly.
Step 4: Pouring the Wax
Carefully pour the measured wax into your prepared container. Ensure it is steady and this process is done slowly to avoid creating bubbles.
💡 Professional Tip: Let the wax solidify naturally; rapid cooling can cause shrinkage and imperfections, as noted by master chandlers in the industry.
Step 5: Curing and Trimming
Once poured, allow your candle to cure for at least 24 hours to ensure a proper set. Curing time affects both burn quality and scent throw.
Trim the wick to about a quarter-inch to promote even burning and avoid soot. Consumer Reports emphasizes regular trimming for extending the life of your candle.
Comparative Overview
| Wax Type | Cost | Burn Time | Scent Retention | Eco-friendliness |
|---|---|---|---|---|
| Paraffin | Affordable | Moderate | High | Low |
| Soy | Moderate | Long | Moderate | High |
| Beeswax | Expensive | Longest | Natural | High |
What materials do I need for candle making?
You will need wax, wicks, fragrance oils, molds or containers, and a thermometer.
Can I use any wax for candle making?
No, not all wax types are suitable. Paraffin, soy, and beeswax are most commonly used.
How can I prevent my candles from cracking?
Ensure slow and steady cooling to avoid cracks in homemade candles.
Are homemade candles safer than store-bought ones?
Homemade candles can be safer when using non-toxic ingredients and following proper safety guidelines.
📜 Glossary
| Term | Definition |
|---|---|
| Wax | The substance used as a meltable base in candle making. |
| Wick | The string, often made from cotton, used to draw fuel to the flame in a candle. |
| Fragrance Oil | Scented oils mixed into the wax to add fragrance to candles. |
Checklist
- [ ] Gather all necessary supplies
- [ ] Choose the right wax type for your needs
- [ ] Accurately measure temperature during melting
- [ ] Allow adequate time for curing
- [ ] Trim wick before every burn
🧠 Quick Quiz: What's the optimal wax temperature before adding fragrance?
- A) 160°F
- B) 185°F
- C) 200°F
Answer: B — It's ideal to integrate fragrance at 185°F for optimal blending.
Call To Action: Ready to transform your living space with homemade candles? Share your creations and join our community of candle makers by tagging us on social media!